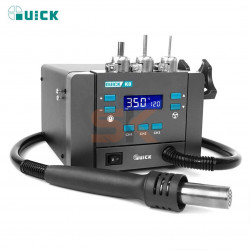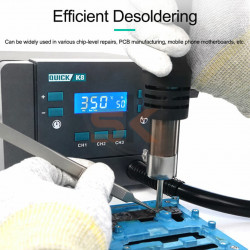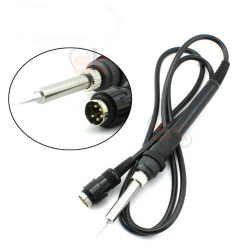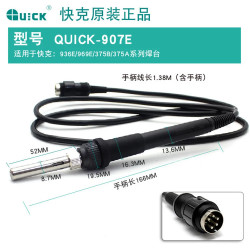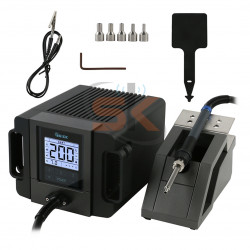

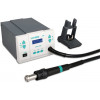


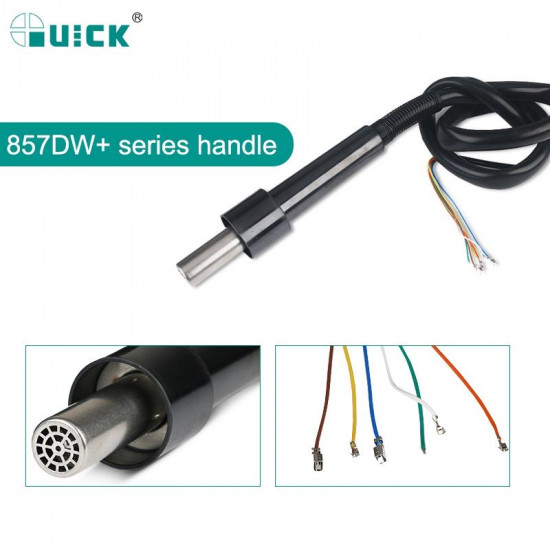
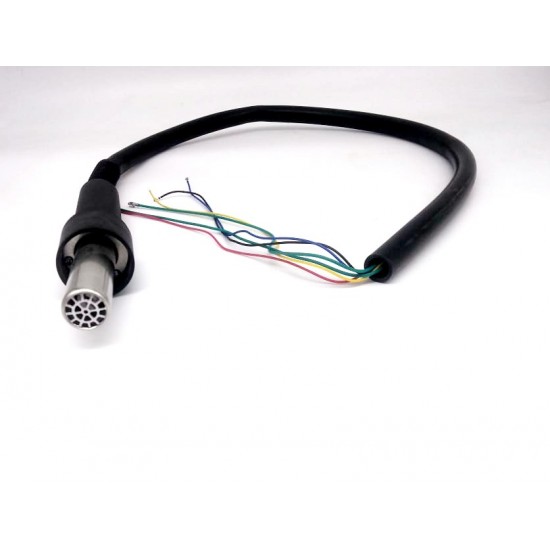


The Original QUICK 857DW+ Replacement Hot Air Gun Handle is an authentic factory-grade replacement assembly designed specifically for the industry-standard Quick 857DW+ (and compatible Quick 706DW+) lead-free SMD hot air rework stations. Engineered for high-volume smartphone repair labs, motherboard micro-soldering workstations, and BGA chip rework desks, this complete handle assembly restores factory thermal delivery, calibrated airflow consistency, and real-time closed-loop temperature sensing to your rework station.
Equipped with a genuine high-efficiency spiral heating core and an ultra-precise integrated thermocouple sensor, the Quick 857DW+ handle provides stable, vortex-free hot air output ranging from 100°C to 450°C. Its heat-resistant composite housing, internal thermal insulation layer, and durable high-flex air delivery hose ensure operator safety, zero hand fatigue, and seamless auto-sleep/wake functionality via the built-in magnetic reed induction switch.
Key Engineering Features & Bench Advantages:
- Genuine Quick OEM Assembly: Precision-calibrated internal resistance and thermocouple sensors match factory Quick 857DW+ mainboards, preventing temperature errors, thermal runaway, or heating element burnout.
- Integrated Magnetic Reed Auto-Sleep Switch: Features a built-in magnetic induction sensor that automatically triggers station cooling and standby sleep mode when docked into the side cradle, dramatically prolonging heating element lifespan.
- High-Purity Spiral Heating Core: Engineered with premium nickel-chromium heating wire and insulated ceramic core scaffolding to deliver rapid heat ramp-up and consistent thermal stability across lead-free solder profiles.
- High-Flex Heat-Resistant Air Hose & Wiring Harness: Flexible, heavy-duty silicone and anti-kink composite outer tubing resists accidental contact with high-temperature soldering tips and hot air nozzles without melting or cracking.
- Ergonomic Thermal-Insulated Grip: Low-weight, anti-slip contoured barrel design stays cool to the touch even during consecutive multi-layer motherboard desoldering and CPU reballing sessions.
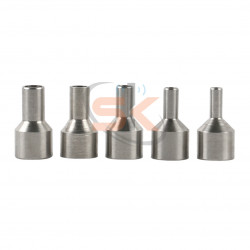
- Universal Quick Bayonet Nozzle Compatibility: Machined metal nozzle collar accepts standard screw-lock and bayonet-style Quick hot air nozzles (straight, spiral, and angled micro-nozzles).
Technical Specification Matrix
Parameter Profile | Product Specification Details |
Product Model | Original Hot Air Gun Handle for Quick 857DW+ |
Station Compatibility | Quick 857DW+, Quick 706DW+ Series SMD Rework Stations |
Rated Power Capacity | 580W – 600W (Governed by Station) |
Temperature Working Range | 100°C – 450°C / 500°C |
Heating Core Scaffolding | High-Grade Ceramic Core with Spiral Nichrome Heating Element |
Sensor Architecture | Closed-Loop K-Type Thermocouple Sensor |
Sleep Mode Mechanism | Internal Magnetic Induction Reed Switch |
Hose & Cable Length | Approx. 1.0 – 1.1 Meters High-Flex Heat-Proof Tubing |
Primary Bench Applications | Smartphone BGA Desoldering, IC Shield Can Removal, Glass Screen Separation |
Installation & Wiring Guide:
- Safety First: Disconnect the Quick 857DW+ rework station from AC mains power and allow the machine to discharge fully before opening the chassis.
- Disassemble Enclosure: Remove the station casing screws to access the internal motherboard terminals and air pump connection port.
- Trace & Disconnect Existing Leads: Note the wiring positions of the old handle (heating element leads, thermocouple sensor lines, magnetic switch pair, and ground wire) before unplugging or desoldering them from the PCB. Detach the air delivery tube from the internal diaphragm pump outlet.
- Mount New Handle & Air Tube: Feed the new handle wiring bundle through the front-panel strain relief grommet, clamp the air hose firmly onto the pump nozzle, and reconnect all electrical terminals to their corresponding PCB solder points/connectors.
- Testing & Calibration: Reassemble the station housing, plug into power, and verify that the handle heats rapidly, blows smooth airflow, and enters auto-cooling standby mode immediately when placed onto the handle cradle.